So you love using your FItbit device because it keeps you happy, healthy and excited. But, suddenly your Fitbit dies or your Fitbit Versa dies quickly, and it is really bumming you off.
All that excitement is going away, and it’s being replaced with anxiety. Well, you don’t have to worry much because this post will help you solve your problem.
5 Reasons Fitbit battery dying quickly: and what to do

If you’re asking yourself why does my Fitbit’s battery drain in minutes or why does my Fitbit Charge 4 battery drains so fast (or any other model for that matter) There are 5 reasons your Fitbit battery keeps dying and we’ve explained all of them in a simple manner below.
1. All Day Sync
If you’ve turned the all day option on in your Fitbit app, then your device battery will decrease incredibly fast. The reason is your syncing data into your account decreases the battery of the Fitbit device a little.
Now, this may not seem like any concern at all but when it happens like 1,000 times per day, the battery of your Fitbit device will take 5 huge blows to the gut. When you look at it this way, you see that the battery of your Fitbit doesn’t die quickly.
To fix this problem or to even check whether this is the problem or not, follow the steps.
Step1: Go to your Fitbit app on your phone, mac, or windows.
Step2: Once you’ve opened the app, here is what you’ve got to do. On the top right of your screen, you’ll see an icon. When you hover over it, you’ll see the name of the icon, it’s Account (maybe you don’t have to hover over it. It depends on the device you’re using) click or tap on it.
Step3: This one is the last step. Here you’ll find out whether this is the cause behind the death of your battery. To find it out, click on the name of your Fitbit device.
Once you’ve clicked on the name, you’ll see multiple options. One of them will be called, All-Day Sync. If this option is turned on, then congratulations you’ve found your problem. Now, just turn it off and enjoy using your Fitbit device.
But, in case you find that the option was not turned on, then you’ve got more work to do. Therefore, look for the next possible problem.
2. Heart Rate Data

If you do not need the heart rate data, then you probably wouldn’t mind turning this option off. We mean, it’s not like you’re losing something, so we guess you wouldn’t mind it. It makes sense, doesn’t it?
Yes, good now go ahead and turn it off. To do so, follow these easy and simple steps.
Step1: You know, there is a similarity between the last solution of the last problem and this one. You have to open an app on your device, isn’t it awesome? We know, so let’s move to the next step.
Step2: Click on the Account icon, it’s on the top right.
Step3: You’ll see a lot of options. The one you’re looking for is called Heart Rate. It is located at the 4th position from the bottom. Scroll down and you’ll see this option.
Now, if it’s not located at this position, you do not have to worry. Because it is still somewhere within this section, so if you keep looking you’ll find it within a few seconds.
3. Excessive Notifications

A notification takes out only a tiny portion of your device’s life. But, if you’re getting over a hundred notifications on a daily basis then that reduces a big portion of your device’s life.
If this is your case, then you should better turn off the notification options. This may be hard for you because you want to keep receiving those notifications. But, you have to do it because there is no other option.
If you’re willing to make the great sacrifice of removing the notifications, then proceed with the following steps.
Step 1: Select the Account icon. It’s located on the top left.
Step 2: You would know which option to choose once you’re in this section. If you’re extra curious and want to know what lies there right now, well you’re in luck because that is what we’re going to tell you right now.
The option that you have to click on is called “Notifications.” You won’t even have to scroll down the screen, because it’ll be right there in front of your eyes.
Step 3: This is the last step. Turn all the notification options off. If you want to keep a certain type of notifications on we advise you to choose the option that won’t make the pop-up appear on your screen after every 15 minutes.
The options are calls, text messages, and calendar events.
4. Silent Alarm
If you’ve got tons of silent alarms set up on your device, then it’s time to cut the number as low as you can. Each alarm reduces the device’s battery a little and if you’ve got 7-8 alarms set up on your device, they’ll take up a good amount of energy.
If you’re ready to remove most of the silent alarm set up on your device, then outstanding. Because this is what we’re going to do next.
Here are the steps you should take to remove the alarms.
Step 1: First thing you’ve got to do is what you did for the last problem. Do you remember it? Go ahead and take a second.
Alright, the time is up. Have you taken your guess? If your guess is to go to the Fitbit App, then you’re wrong. The only right answer is to select the Account icon on the top left of the screen.
Step 2: Similar to the second step of the last section, once you’re in this section you’ll know what you’ve got to do. You’ll know which option to select.
You won’t have to scroll down to see that option as well. We know you might be thinking that you have to click the option called, “notification.” Congratulations, you’re almost right.
Because it’s an option that is just one number above it on the menu. The name of the option is Silent Alarms.
Step 3: Now you’ll see all the alarms you’ve set on the screen. Remove as many as you can. Each alarm plays its part and by removing plenty of them, you’ll save a lot of battery power.
5. Menu items

This is the last thing you can do to improve your Fitbit’s battery performance. You can remove some of the items from your menu.
Each item takes a small amount of battery so you won’t lose much by eliminating one item, but if you manage to remove plenty of items then you’ll save a good amount of battery. We know it’s not a lot, but it definitely beats the hell out of zero.
To mark some items off your menu, follow these simple and easy steps.
Step 1: We feel like we don’t even have to tell you at this point. But just in case, here is what you’ve got to do. Select the Account icon, you know where it is located.
Step 2: This time you will have to do a little more work in step 2. You’ll have to use a bit of your physical energy and scroll down a little on this section.
Keep scrolling until you find an option called Menu Items.
Step 3: In this section, you’ve got to do your bidding. Mark the item that you don’t absolutely need on your menu. Start with the option called Relax.
That’s it! We’ve covered all the 5 ways. By following all the steps or as many as you can, you’ll probably make a truly enormous difference.
FAQs related Fitbit
In this section, we’re going to answer 5 of the most common FAQs related to FItbit. So, let’s start.
Do Fitbit batteries need to be replaced?
The answer to this question is a big YES. The reason is that everything in life has an expiry time. Some of the examples are Humans, Trees, Vehicles, and Ants. As you can see whether you’re alive or not, does not mean you’re going to last forever.
For this reason, the day will come when your Fitbit battery will die and you’re gonna have to replace it with a new one.
How many years does a Fitbit battery last?
By reading the answer to the previous question, asking this question makes all the sense in the world. Because you have to be prepared for the doomsday.
Alright, now let’s answer the question. The answer is… it’ll take about 2 years, give or take a few months for your Fitbit battery to die.
What do I do when my Fitbit battery dies?
Well, we’ve already answered this question. But, for those of you who are in a hurry and don’t want to read the article thoroughly here is what you’ve got to do.
You can turn off these 5 things. All day sync, heart rate data, excessive notifications, silent alarms, and menu items.
If you don’t know how to turn these things off, unfortunately here is what you’ve got to do. You’ve got to read everything we’ve written in the previous section.
We know it’ll take up some of your valuable time, but if this is what you’ve got to do then go ahead and read that section.
Why does my Fitbit versa keep dying?
This issue may be solved by taking just these few steps. Stop using animated clock faces. Reduce the brightness. Minimize waking up the screen.
That’s it! By following these steps your problem should be solved. Oh, and one more thing, it’s best to restart the device after making all the changes.
If your problem still isn’t solved, then you should contact the customer support.
Why does my Fitbit not hold a charge?
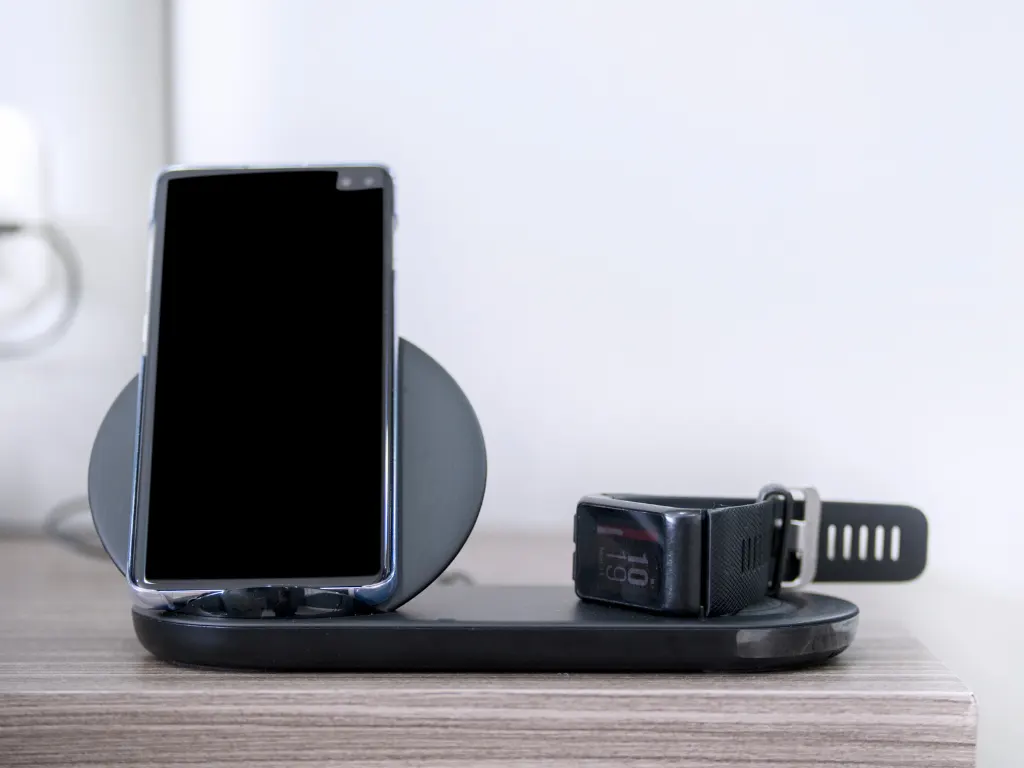
Follow these steps to solve this issue:
- Try plugging the device into a different USB port.
- If you use a USB hub, then try using a USB port and of course, vice versa.
- Clean the contacts of your charger
- Reset your tracker
Conclusion
By reading this post and applying the information to your device, you should be able to solve your problem. In case it doesn’t happen, contact the customer support.
If you like this post, make sure to share it so other people can benefit from it as well.
