I have been using Apple Pay for three years without any trouble. But, a couple of weeks ago, I got a message when I tried to make a payment using Apple Pay. It said, “Updating Cards, Apple Pay will be available when updates are complete.”
After double pressing the power button and preparing my iPhone for Apple Pay, I used to see this message. Although I thought it would be a matter of a few seconds until the update finished, it did not. Also, I could not make any payment after that using Apple Pay.
I got instructions from the Apple Pay website, forums, and Apple users to fix the issue. Although I could fix the issue, I saw that there were several Apple users who got similar issues. That is why I thought to share my experience.
What Does It Mean By Apple Pay Updating Cards?

When you change your information, such as an address, credit debit card, and privacy, Apple Pay detects them and updates them with the card issuer. It is an automatic process that doesn’t require your involvement.
But, due to some reasons, you have to update that information manually as well. The entire process is known as Apple Pay Updating Cards.
What To Do When Apple Pay Says To Update Cards?
If Apple Pay says update cards, it can be due to any failure of updating the data of your Apple Pay. I found that 60% of users had not happened to do anything, as the message vanished automatically after launching the wallet app. But, sometimes, it requires two things to be done by you.
Ensure Apple Pay Gets Signal
I discovered that the low data signals could drag the issue longer. You must make sure that WiFi and Data’s network is working properly. When Apple Pay could connect with the servers, the message would automatically disappear.
Contact The Card Issuer And Make sure They Have Automatic Updates
As the second option, you must contact the bank and inquire about the automatic updating of the card. If they say that they don’t provide automatic updates, you will have to manually update the Apple Pay card information.
I discovered that users could update a card for Apple pay manually, which will not bring the “Updating Cards, Apple Pay will be available when updates are complete” issue.
How To Update A Card For Apple Pay?

I found three different methods to update the card for Apple pay. They are for Apple iPhone, Mac, and Windows PC. What you have to do in each one is to create a new payment method and delete the older payment method.
Apple iPhone
- Go to settings
- Tap your Name
- Go to Payment & Shipping (You will be asked to enter the Apple ID and log in)
- Go to Add Payment Method
- Choose Add Payment method
- Choose Credit / Debit card / Pay Pal
Note: You can only choose Visa Card, Master Card, or American Express Card. Also, you have to enter your Credit Card Number, Expiry Date, and CVV.
If you choose PayPal, you will have to login into the PayPal account
- Tap Done
- Tap Edit
- Tap the red delete button, which will appear right next to the old payment method
Mac Device
- Go to App Store on your Mac
- Click on the name or the Sign In button
- Go to Account settings
- Click manage payments next to the Payment Information
- Click Add Payment
- Choose Credit / Debit card / Pay Pal
Note: You can only choose Visa Card, Master Card, or American Express Card. Also, you have to enter your Credit Card Number, Expiry Date, and CVV.
- If you choose PayPal, you will have to login into the PayPal account
- Click Done
- Click Edit right next to the old payment method
- Then click remove, which will delete the old payment method.
Windows PC
- Go to iTunes
- Click Account
(You will see it on the top of the window)
- Click Edit, which is right next to the Payment type
- Click Add Payment
- Choose Credit / Debit card / Pay Pal
Note: You can only choose Visa Card, Master Card, or American Express Card. Also, you have to enter your Credit Card Number, Expiry Date, and CVV.
- If you choose PayPal, you will have to login into the PayPal account
- Click Done
- Click Edit right next to the old payment method
- Then click remove, which will delete the old payment method.
Note: I found that the address is automatically updated by the Apple Pay Card when you change it. But, you are recommended to add a new card with the changed address and then remove the old card.
How long does it take for Apple Pay to update cards?

If you have moved somewhere and changed the address, then Apple Pay will update it in an instant. Truthfully, you won’t even see that.
But, I saw some users who had to update the information manually which consumed more time.
Does Apple Pay Automatically Update Expired Cards?
Your Apple Pay card has an expiry date. Once it reaches the expiry date and you get a new card, Apple Pay will update some essential information automatically.
But, I found some card issuers who didn’t support automatic updating. In such occasions, the card owner must update information, such as the card number, expiry date, and the CVV manually. It doesn’t take much time, either.
What Is The “Apple Pay Updating Cards” Error?

I found that “apple pay updating cards” is a common error for Apple Pay users. It prevents users from making transactions and using the Apple Pay app properly.
I found the following reasons that could make you see the “Updating Cards, Apple Pay will be available when updates are complete” error.
- When you have traveled out of your region
- Bugs in OS
- Outdated iOS
- Changed the Apple Pay card due to expiry
- Turning iCloud Off
- Updated iOS
- Cache Memory
- Network Settings
- You have changed
- Expired Payment Method
How To FIX The Apple Pay Updating Cards Error?
I discovered the below methods used by Apple Pay users to get rid of the Apple Pay Updating cards error.
Restarting Apple Wallet App
I found that the easiest way to fix the apple pay updating cards error is to restart the Apple Wallet app. You must close the app and launch the app for that. (You must double-press the Home button, then swipe up the Apple Wallet on the app preview)
Logging Into iCloud Account
You may follow the below steps to log in to your Apple iCloud account
- Launch the Settings app.
- Tap Sign in to your and choose your device
- Enter your Apple ID and password
Note: Sometimes, you will be asked to enter a verification code. You must keep the device that Apple would choose to send the 06-digit verification code.
Reset The Network For iPhone
- Open Settings app
- Tap General
- Tap Reset
- Choose Reset Network Settings
- Confirm
Note: This trick will reset the Wi-Fi password, which makes you enter them again.
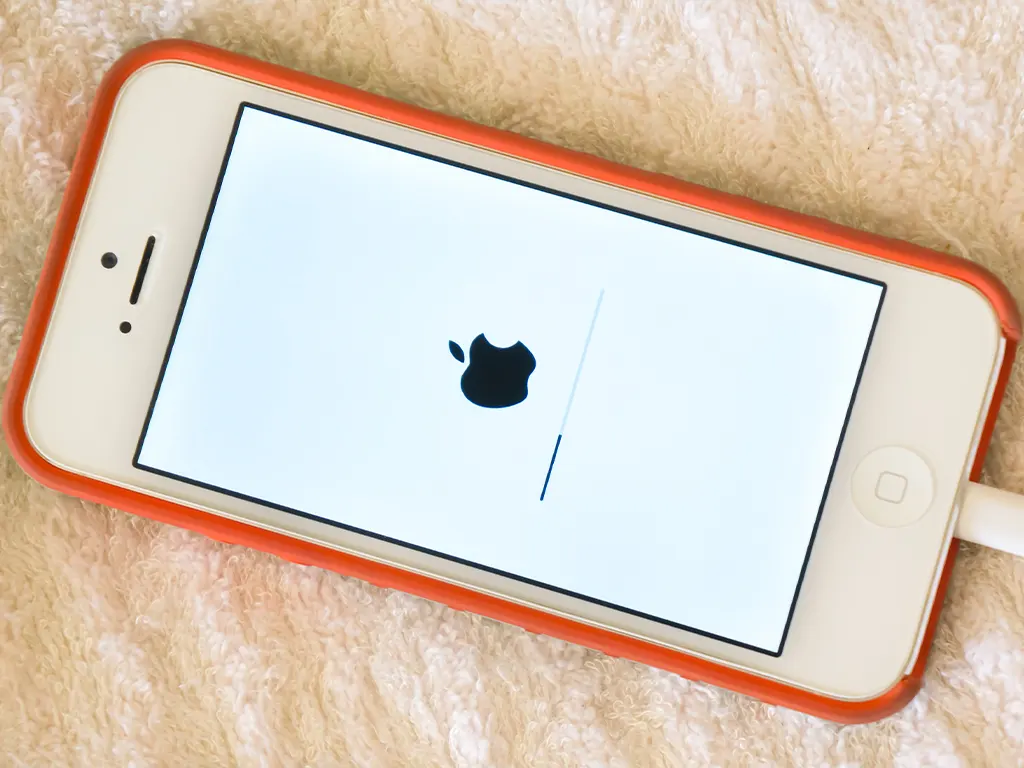
Restart Your iPhone
After a restart, you have the ability to fix your minor issues. I saw a few Apple Pay users who could fix their issues after a restart.
- Press the volume up button quickly.
- Do the same to the volume down button.
- Press and hold the side button until the Apple logo appears.
Updating The iOS To The Latest Version
Some Apple Pay users had been able to fix the Apple Pay Updating Card issue after updating their Apple iOS to the latest version.
Set the Region for the Apple ID
I found that some users had encountered the issue after spending time in a foreign country. In such occasions, the issue could be fixed by setting the US as the region on Apple ID and in general settings.
- Launch the Settings app.
- Tap your name
- Choose Media & Purchases.
- Choose View Account
- Go to Country/Region. And choose Change
- Choose the USA as your country
- Tap Agree and confirm again
Warning: After changing the region for Apple ID, you may lose subscriptions, memberships, pre-orders, movie rentals, Season Passes, and credit refunding processes. Therefore, it is recommended to conduct this to cause the least loss of Apple Money.
Change the region to the USA in General Settings
- Open Settings app
- Go to General
- Choose language & region
- Set USA
A Custom Trick
I found this custom trick used by several Apple Pay users who had the same issue.
- Go to iCloud.com using a computer
- Choose sign in
- Go to account settings
- Click the device
- Click remove Apple Pay
- Sign out of Apple ID
- Restart The device
- Sign In Again
- Set Up Apple Pay again
Conclusion
I think you have an answer for the issue you have. If it is still there, please contact Apple Official Assistance and mention everything you tried.
